Unknown's avatar

About uaskigyrl

Urban gardener, amateur cook, lover of life, suffering from a severe case of wanderlust.

Let’s Talk About: Boiling Water Bath Canning

This is a long, boring post but it is extremely important.  Please read it before you start any BWB canning!

There are several ways that you can preserve your food:  freezing, drying, pickling, pressure canning, Boiling water bath (BWB) canning, preserving in oil, curing, and smoking.  Most of my preservation techniques center on freezing, pickling, and BWB canning.  This year my goal is to expand into drying and pressure canning.  I’m not much of a preserving in oil fan as the foods that you preserve in oil become mushy as time goes on and they really don’t last that long.  Somethings preserved in oils will only be good for a month or two and if I’m going to put so much time into something, what’s the point?  I don’t do curing or smoking, either.  It’s just way too easy to buy cured and smoked meats to put the time and effort into curing and smoking.  Today, we are going to talk about Boiling Water Bath canning.

BWB CANNING CAN ONLY BE DONE FOR HIGH ACID FOODS!

Let me repeat, BWB CANNING CAN ONLY BE DONE FOR HIGH ACID FOODS!
Ok, now that I’ve gotten that out of the way, let me explain why.  Overall, preserving is about prolonging the shelf life of foods by killing or neutralizing the agents that would otherwise cause them to spoil(1).  Spoilers are enzymes, molds, yeasts, and bacteria.  Bacteria is the big boogeyman of home canning, specifically salmonellae, staphylococcus, and clostridium botulinum.

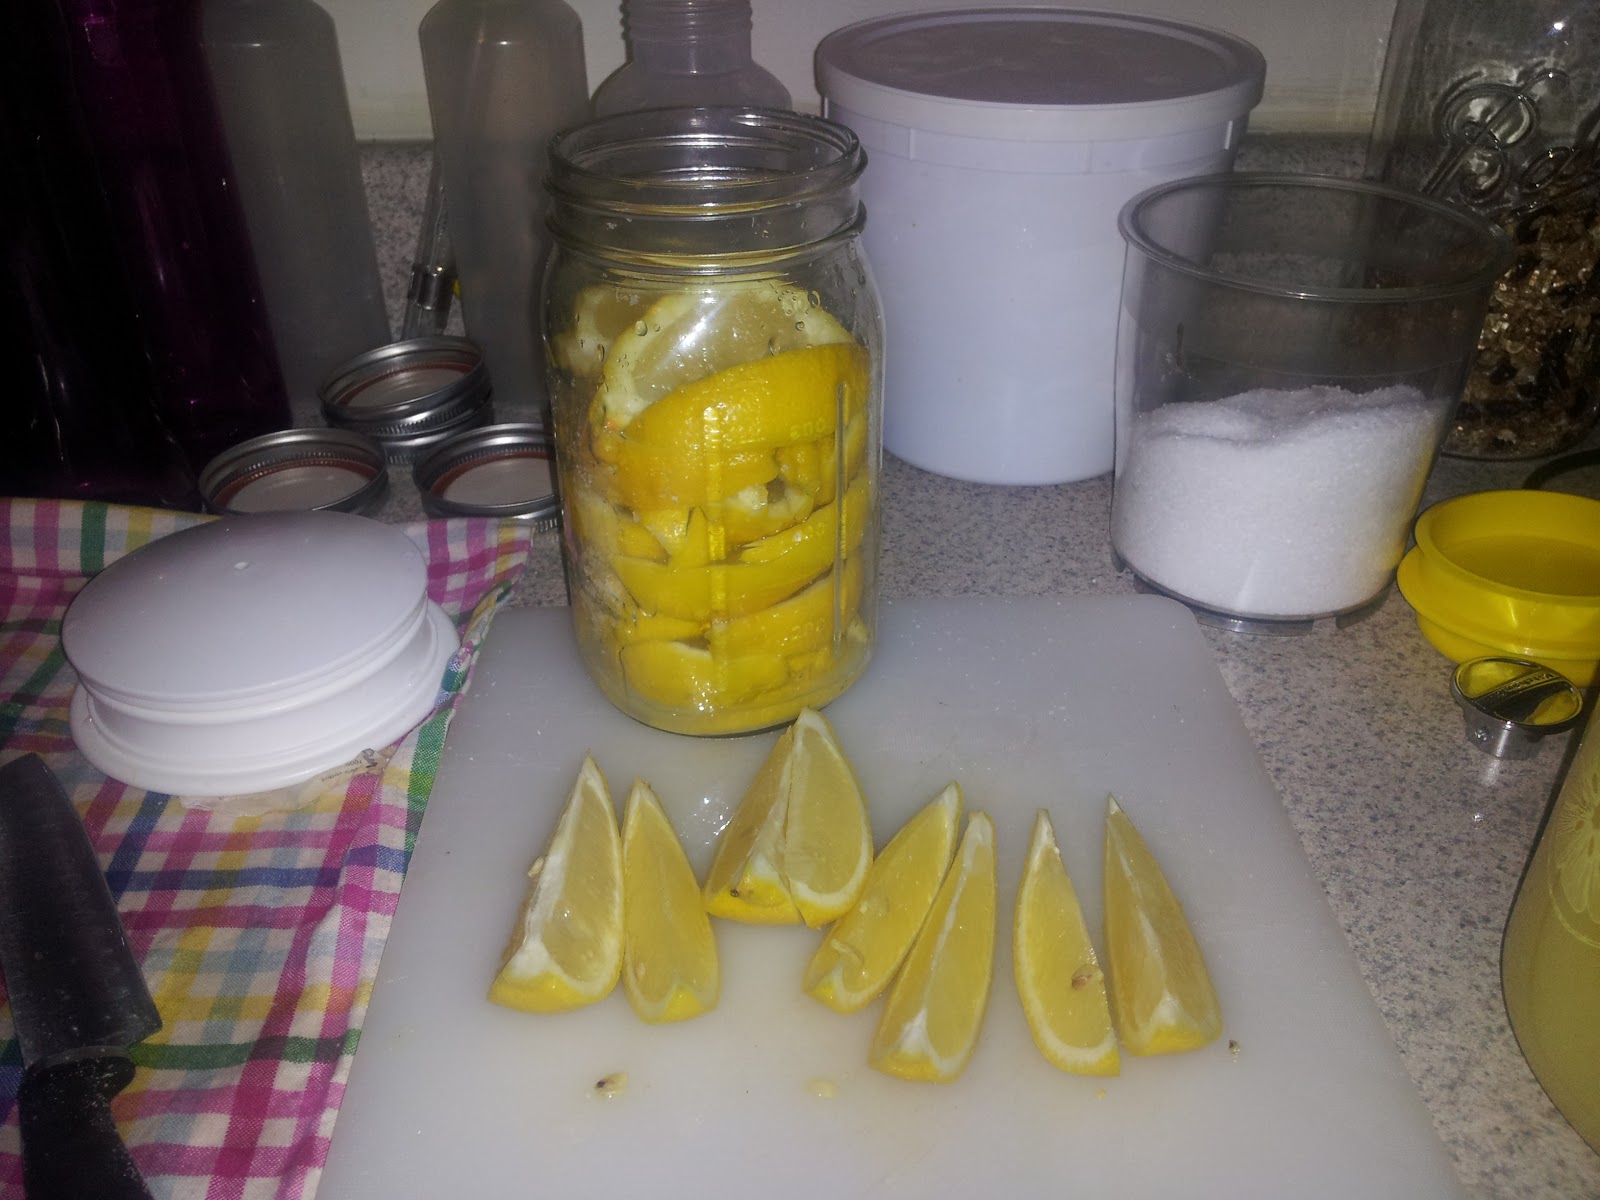
BWB canning works because water boils at 212.  Enzymes die once their host gets heated past 140. Mold and yeast are destroyed from 140-190.  However, there are two classes of bacteria.   Some bacteria die at temperatures exceeding 240, which is where acid comes into play with BWB. The process of BWB kills all spoilers except clostridium botulinum, HOWEVER, this bacteria cannot thrive in a pH of 4.5 or less.  Pickling low acid foods is the only way to safely BWB can low acid foods.  Pickling is adding an acid to a food. You can add acid by using a form of vinegar and/or lemon juice (citric acid!) or fermenting the food (3).  This is why BWB is safe for foods that have a pH of 4.5 or less (2).

BWB canning also works because as the gass jars are boiling in water, the heat pushes the air out of the tissues and creates a vacuum seal.  Without oxygen, spores cannot bloom in your food.  The temperature of the boiling water will also sterilize the jars and the foods.

Once you have finished canning an item, you must make sure that the lid is vacuum sealed on. If the lid is not vacuumed sealed on and comes off easily, you must refrigerate it immediately and eat it within 2 weeks.  If the seal is strong you can place it on your shelf.  When you want to use that food item, always check the seal of that item.  If you can lift off the seal easily, you must toss the item.  For whatever reason, that item did not preserve correctly and the bacteria have been having a party in that jar.  I have been BWB canning for 3 years and have only had 1 canned item spoil on me, so if you follow the rules your chances of failure are miniscule.  If, for whatever reason, you have doubts about an item, just throw it out.  It’s better to be safe than sorry!

If you are interested in preserving, I highly suggest that you do your own research.   Every canner SHOULD have Ball Blue Book Guide to Preserving and Ball Complete Book of Home Preserving.  After that, every canner should have the National Center for Home Food Preservation as a favorites link.  The National Center for Home Food Preservation stays current on the latest canning research and offers advice and tips.  If at any time you read a recipe that you are just not sure about, you can go to NCHP and look up that technique to see if the technique is valid.  I highly suggest to add Well-Preserved by Eugenia Bone, Canning for a New Generation by Liana Krissoff, and The Complete Book of Small Batch Preserving by Ellie Topp and Margaret Howard to your canning book library.  After that, there are a myriad of canning books out there that you can follow for recipes.  Finally, there is a wonderful online forum called Harvest Forum on GardenWeb.  The community is extremely knowledgeable, fun, and quick to respond.  There are other canning forums but I find that the others tend to promote unsage canning practices and tend to be not as up-to-date on modern canning practices.  Harvest Forums members’ primary concern is for your safety, how can you argue with that?

Finally, BWB canning is a highly effective way of preserving food for your family.  With the state of corporate canned items being loaded with sugars, MSG, and other non-pronounceable preservatives, you will find that canning your own food items is a much healthier way.  Plus, home canned items taste so much better.  Once you start, you will wonder why you never did it!

1.       Well Preserved, Page 13, Eugenia Bone, Clarkson Potter/Publishers New York 2009.
2.       Well Preserved, Page 14, Eugenia Bone, Clarkson Potter/Publishers New York 2009.
3.      Canning for a New Generation, Page 15, Liana Krissoff, Stewart Tabori & Change New York 2010.

HAPPY CANNING!
Resources:
1.    Well Preserved, Eugenia Bone, Clarkson Potter/Publishers New York 2009.
2.   Canning for a New Generation, Liana Krissoff, Stewart Tabori & Change New York 2010
3.  Ball Blue Book, TMS Ball Corporation, Hearthmark LLC Indiana 2010

Dried Citrus Zest Strips

I was in the grocery store today as there was meat on sale and because I can never go to the grocery store for only one thing, I ran into this in the spice aisle:

SIX DOLLARS AND 50 CENTS?!  SIX DOLLARS AND 50 CENTS for 1.5oz of “California Lemon Peel”?!  Are you kidding me?!  Is this stuff powdered gold?!  And, knowing how corporations like to cut corners, you know that this is not made from Meyer Lemons. 

But wait, it gets better!

FIVE DOLLAR AND 50 CENTS!  FIVE DOLLARS AND 50 CENTS for 1.5oz of “Valencia Orange Peel”  If Lemon Peel is powdered gold then Orange Peel must be powdered copper!

Being from Arizona, my first reaction was to laugh out loud hysterically in the aisle of the grocery store, then I started taking pictures.  I think the Marylanders in the grocery store must of thought I was insane for making such a big deal about dried citrus peel.  I wanted to walk up to random people in the grocery store and yell at them about how they are being ripped off!  haha.

Lets look at the ingredients lists:

To be fair, this is a pretty good ingredients list with only two ingredients but the second ingredient is Sodium Sulfate.  Sodium sulfate is a salt that is mainly used in the manufacture of detergents and paper pulp.

Folks, I’ve got a real easy method for you and you don’t have to break the bank to do it either.  Grab your vegetable peeler, grab the citrus of your choice, and peel the zest right off those citrus (much like the way we did for the limoncello ).  Make sure you limit the amount of pith on the zest as the pith is bitter.  The zest hold all the apparent powdered gold – or powdered copper for that matter.

Lay those peels in a single layer in your dehydrator and check them every 4 hours or so.  Most of my peels dried overnight.  Once they are done drying put them on a plate to cool off.  Once they are completely cooled, place them in a pint jar.  OR, you can lay them on a single layer on a plate or cookie sheet and let them dry at their own pace.

BAM!  Ingredients:  Citrus Peel

You can pulverize them into a powder, place a couple of peels in a grinder with peppercorn and sea salt to use as a spice on chicken or fish, or grab a strip and drop it in your water!

Real Deal Limoncello, First Phase

Do yourselves a favor and start this Limoncello with me.  This method for Limoncello will create the best damn Limoncello you’ve ever had.  It’s amazing and it takes about 9 months to completely mature, so start it now.   It will be ready to bottle by Christmas.  You can bottle it and keep it for yourself or give it as gifts to people who really deserve it. 

First, you will need a 750ml bottle of vodka, not necessarily high end but one that’s good enough that you would serve to other people (I like using Skyy), and a 750ml bottle of Everclear.   Next, you’ll need 15 lemons who’s skins are just about perfect.  You don’t want many bruises because we need the zest.  Finally, you need a good vegetable peeler and a 2 gallon glass jar.

Using your vegetable peeler, peel only the zest of the lemons into long strips.
 
Make sure you only get the zest.  You don’t want any of the pith or it will make your limoncello bitter and bitter limoncello will get you thrown out of any self respecting Italian’s house!  The zest is where all the sweetness and flavor of the lemon is. 
Place these strips in the 2 gallon glass jar. It’s best that you use glass because of the acid from the lemons. Once you have all the lemon zest in the jar, pour the bottle of vodka and Everclear in.
Shake this like a Polaroid picture and put it in a dark place.  Every once in awhile, or – if you’re like me – every time you remember, shake the lemon zest and alcohol mixture.  In 3 months, take out a slice of zest and bend it.  If it breaks, you’re ready to add the sugar syrup mixture; if it doesn’t keep the jar in the dark place.  The goal is to leach all the lemon essential oils out of the zest and into the alcohol.  We’ll check in on the liqueuer in about 3 months.
 
We are going to juice the actual lemon for a canned lemonade concentrate recipe that will follow this post.
 
Real Deal Limoncello
 
Ingredients
 

One Bottle (750 ml) Everclear (95% alcohol 190 Proof)

One Bottle (750 ml) good but not necessarily premium vodka (40% alcohol 80 Proof)
15 large thick skinned bright yellow lemons (without scars or flaws in the skin if possible.)
 

Day 1
 
1.  Make sure the lemons are cleaned to remove all pesticides, dirt, and fertilizer chemicals.  Dry the lemons.  use a potato peeler to peel just the yellow part of the skin off the lemons.
 
2.  Place lemon zest into a 2 gallon glass jar.
 
3.  Pour the bottle of Everclear and the bottle of vodka into the jar.
 
4.  Shake the jar and put away in a cool dark place.
 
5.  Shake jar every other week…or whenever you remember.
 
6.  We will revisit our liqueur in about 90 days

Preserved Lemons

If you’ve never made preserved lemons before, you are completely missing out.  I got interested in the idea of preserved lemons after getting tired of forgotten fresh lemons drying out and going bad.  It’s always frustrating to throw out wasted produce.  Especially lemons.  When I received my first ever preserving book, Canning for a New Generation, one of the first recipes I tried was “Preserved Lemons”.  Let me tell you:  Preserved Lemons have changed my life.  I can now order lemons in bulk when they are seasonally at their best and enjoy the taste of lemons all year long!  As much cooking – and*ahemdrinkingahem* – as I do, one quart of preserved lemons lasts me about a year.  Preserved Lemons are pickled lemons that have been pickled in their juices and salt.  You can use the pulp of the preserved lemons in recipes, however, keep in mind that it is salty and briny.  The magic of the preserved lemon is in the rind.  The rind becomes a beautiful, soft, chewy pickle that is palatable and goes a long way in recipes.  I know it seems counterintuitive to eat citrus rind but trust me on this.  In the middle of summer when lemons are not at their best – or when you just don’t want to go to the grocery store – I have substituted finely chopped preserved lemon rind in any recipe that calls for lemon zest.  I have whirred up a few slices in the blender and used the paste in recipes that call for lemon juice.  There’s a great lemon vinaigrette and a great Preserved Lemon Roasted Chicken recipes that I use with these lemons (those recipes to follow in the future).  Pretty soon, you will find that your refrigerator feels empty without a jar within reach.
 

First you want to grab about 4 lemons (you may need more, you may need less.  It all depends on the size of your lemons) with limited, to no, blemishes on the skin – remember, the pickled rind is what we will use in the majority of recipes.  4 good sized lemons will generally fill one quart jar.  Ensure that you clean and scrub your lemons well and thoroughly dry them.  Next, slice them into eights (or smaller if you have really big lemons).
 
 
Grab one sterile quart jar; I find that wide mouth quart jars are easier to make preserved citrus in because you can get your hand in there to squish the citrus down.  However, regular mouth jars are cheaper and you can use the end of a wooden spoon to mush them down.  Take a pinch full of kosher salt and sprinkle it into the bottom of your jar.   Layer your first 4 to 6 slices of lemons into the jar, squish them down to release some of their juices, take a generous pinch of kosher salt and spinkle on top of the layer.  Keep repeating until you have layered your lemon slices and kosher salt all the way to the neck of the jar (You want to leave some space for the lemons to expand as they will absorb some of their juices after they have expressed them.)  Screw on the lid and ring and let the lemons sit on your kitchen counter, or kitchen window sill, for 24 hours.  The lemons should express some of their juices.  After 24 hours, you will add fresh lemon juice to cover the lemon slices.  Keep your lemons on your counter/sill for a week.  After a week, place them in the fridge.  After about a week in the fridge, check your lemons and if they have expanded, you will need to add more lemon juice to cover.  They will keep for about a year (although I have kept them for longer).
 
 
Preserved Lemons

Ingredients

4 Lemons
4 T Kosher Salt

Directions

1.  Slice 4 lemons into eights (or smaller if you have really big lemons)

2.  In a sterile quart jar, sprinkle about a half tablespoon (I use one generous pinch) into the bottom of the jar.  Lay around 6-8 slices into the jar and push them down until they start to express their juices.

3.  Sprinkle half tablespoon over the layer of lemons slices

4.  Repeat layering lemons and kosher salt until you fill the quart jar up to the neck. 

5.  Let the lemons sit on your counter for 24 hours.  After 24 hours, fill the quart jar with fresh lemon juice, ensuring that you cover the lemons.

6.  Let the lemons sit for a week.

7.  Label and place in the fridge.  After a week in the fridge, check your lemons.  If they have expanded, add more lemon juice to cover the lemons.  They will keep for about a year in the fridge.

When Life Hands You Lemons…

Folks, I have a confession to make:  I love it when life hands me lemons.  I mean, look at these beauties!  I received them the other day from Pearson Ranch California Oranges.  They have engulfed my kitchen with a beautiful sweet scent that is just gorgeous and makes me smile.  They are a burst of much needed sunshine in my dreary Maryland kitchen. And, I have plans for these babies.  Oh yes, I’m turning this 20 lbs box into several gorgeous homemade yummies.  Just you wait and see.  These next few days I will post what I did to break down this wonderful box of lemons!  For now, though, I will enjoy a slice of lemon in my water!


Eliminating Processed Food: My Journey

I know what you’re thinking, “This girls blog is a *hot mess*”  I know, I know.  I am working on the layout of my blog but I am bursting with ideas and I just have to share them with you!  So, I decided to start writing even as the image of my blog takes a life of it’s own.

A little about myself:  I am not a chef.  I am not a master canner.  I am not even a nutritionist.  What I am is a person that is concerned with the state of “food” in the USA.  I believe that food in the USA is becoming “food”.  “Food” in quotation marks.  “Food” is not food; “food” is fake.  So, I decided to do something about it.  I am on a mission to take out as much preservatives from my diet as possible.  I plan to discuss the issues of “food” in America along with canning and recipes that I have come across that are delicious.  I eat as seasonally (and locally) as possible and when in bounty I preserve.  I also do not let anything go to waste.  Most of my recipes are pretty nutritious, not all of them are uber-healthy (especially during the winter), but all of them are real.  I wanted to start around late winter, early spring so that you can see the process of my planning, canning, and cooking through out the seasonal year.  Too many people believe that cooking fresh and seasonally takes up too much work, but I hope to show you that with a little bit of time, a little bit of planning, and a little bit of knowledge about your produce, you can create a kitchen that is virtually preservative free.

This is my journey in eliminating processed foods and I hope you join me.